The Windows operating system offers quick, straightforward disk partitioning tool. While many less experienced users aren’t quite sure what a disk partition is, but even an inexperienced user can benefit from one.
Disk partitioning is a process by which a single hard drive is split into two or more separate hard disks. The disk isn’t physically split in half, of course. Rather, the hard drive is treated as if it were made up of more than one different drives.
The main purpose of setting up a hard drive partition is to create two independent hard drives without having to purchase a new one. Hard drive partitions are particularly useful for security purposes—viruses that are on one hard drive, for example, can usually be kept off a second hard drive. It can also let you create a backup partition, where you can store important information. Even if you reformat the one partition, the other partition will be left unmolested.
Disk partitions are also the only way to install two operating systems on the same hard drive at the same time. Operating systems require such a large amount of resources and control that you cannot install one on top of another. But with a hardware partition, you could, for example, have Windows XP installed on one partition and Windows 8 installed on the other.
To access partition options, you’ll, first need to be logged into an Administrative account. If you only have one account on your computer, that account is automatically an Administrative Account. Open the Control Panel, select “System and Security,” and click on “Administrative Tools.” Click “Computer Management.”
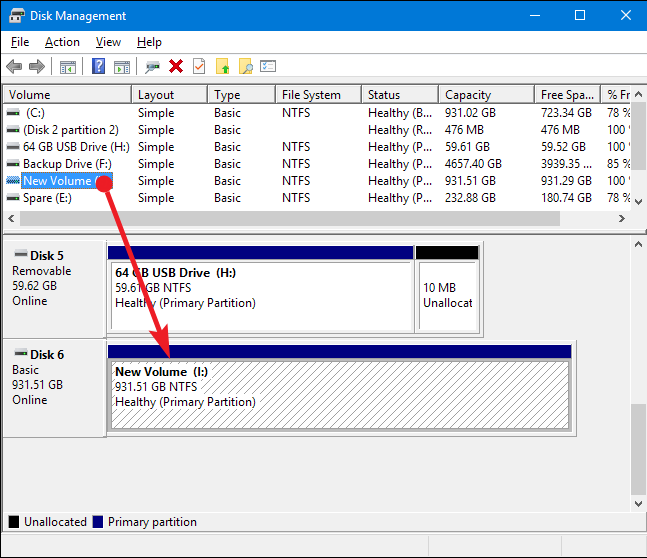
For most people, this will be your first time seeing the Computer Management window. It is a powerful, useful tool that gives you access to quite a bit. For our purposes, though, we’ll be focusing on the “Storage” drop-down option on the left side of the screen. Click the “Disk Management” icon.
Select the hard drive you want to partition. By default, this will be the C drive. You will see some information on the disk, including its name, its overall health, and its size.
Once you’ve selected the drive that you want to partition, you’ll see a title marked “More Actions” on the right side of the screen. Click on this, and you’ll see a number of options.
You’ll see the “Create VHD” option. VHD stands for “Virtual Hard Disk,” another name for a hard drive partition. After you select “Create VHD,” you can set the size of the partition. Or, if you like, you can make a dynamically expanding partition, which will start out small and grow the more you add to it. While this may seem like the obvious choice, the fixed size partition is easier to manage, and is recommended for first-time partitioners.
From there, you just have to type “OK,” and Windows will begin the partition process. How much time this will take will depend on the speed of your hard drive, as well as the size of the partition that you are creating?